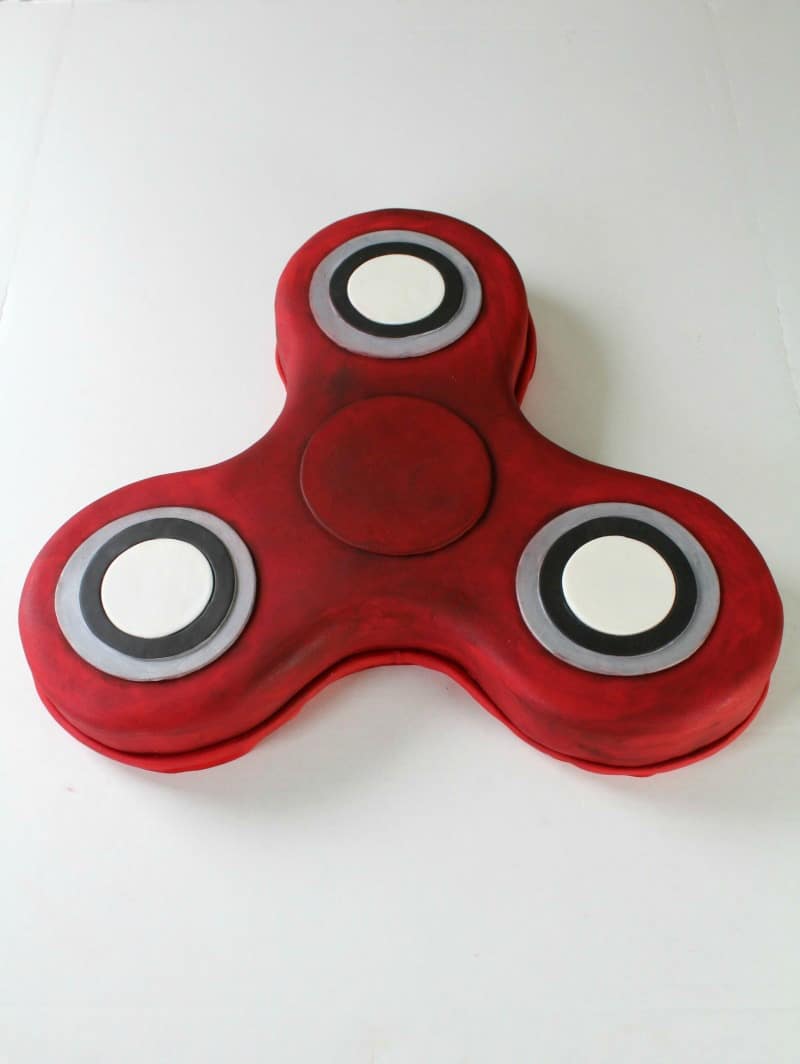
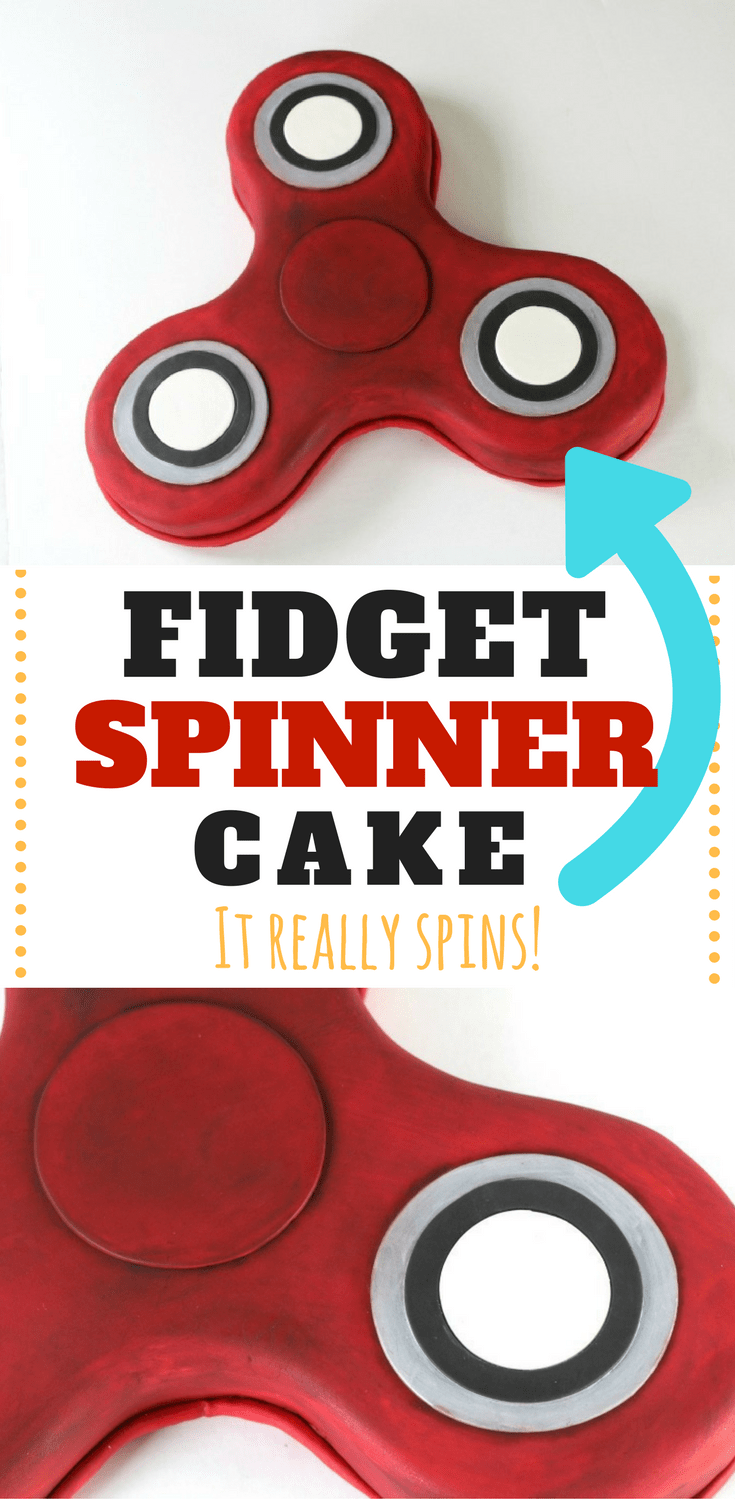
How to Make a Easy Fidgert Spinner Cake
My stepsons are obsessed with these things. I mean, okay, they're kind of fun, but I really can't seem to get all the hype. That's okay though, I'm sure not everyone is into cake as much as I am. (Who ARE those people anyway?) Well I determined that in order for me to become as obsessed with fidget spinners as my stepsons, then I'd need to make it into a cake. Enter the Fidget Spinner Cake that really spins.
Now, I got super excited when I came up with this idea. I was scrolling through Facebook and I was seeing people playing with them and thought, someone needs to make a fidget spinner cake. Then I thought, what do I mean 'someone'? I should make this cake!
I was so excited because I hadn't seen anyone else that had made one. I bought the supplies and worked all day on it plus editing the video and pics. The next day, I wake up and scrolling through Facebook and…BAM…someone had beat me to it. Ok, y'all I was disappointed. I had just finished mine the day before!
I decided the world could use another fidget spinner cake and since mine's a little different, I'm sending it out into the world anyway. I mean, wasn't there like a million different unicorn cakes there for awhile?
Alright, so I've added in some instruction plus some screenshots to show you how I put it together. I've also included a list of materials, plus a link to the spinner I bought on Amazon that will allow your cake to actually spin.
This post contains affiliate links. As an Amazon Associate, I earn from qualifying purchases. You can see my policies linked in the website footer.
There's also a video close to the end of this post so you can see it being made.
Supplies You'll Need for the Fidget Spinner Cake:
- baked cakes (I used one 10″ layer and three 8″ layers) (here's my favorite vanilla bean cake recipe )
- buttercream or ganache (I used my double chocolate buttercream recipe.) Oh and if you'd like to know how to make ganache, see this post: How to Make Ganache
- 2 large foam boards (Two sizes: ½″ thick and ¼″ thick)
- Clip art of a fidget spinner.
- Red fondant
- Black fondant
- White fondant
- Red luster dust
- Silver luster dust
- fondant smoother
- cornstarch
- buttercream spatula
- buttercream smoother
- large circle cutter set
- exacto knife (for cutting out your foam boards)
- small pizza cutter (for trimming the fondant)
- Wilton fanci foil (for covering the ½″ foam board
- red ribbon (optional for attaching around the cake base board) large and small fondant rollers
- wax paper (for covering boards)
- mini lazy susan
Making the Fidget Spinner Cake:
The Spinning Base:
Ok, we're not getting super technical here. I didn't want to do something that was so outrageous that you'd need to own power tools to make.
I purchased the smallest lazy susan I could find on Amazon (see the link above). It was about 7 ½ inches round.
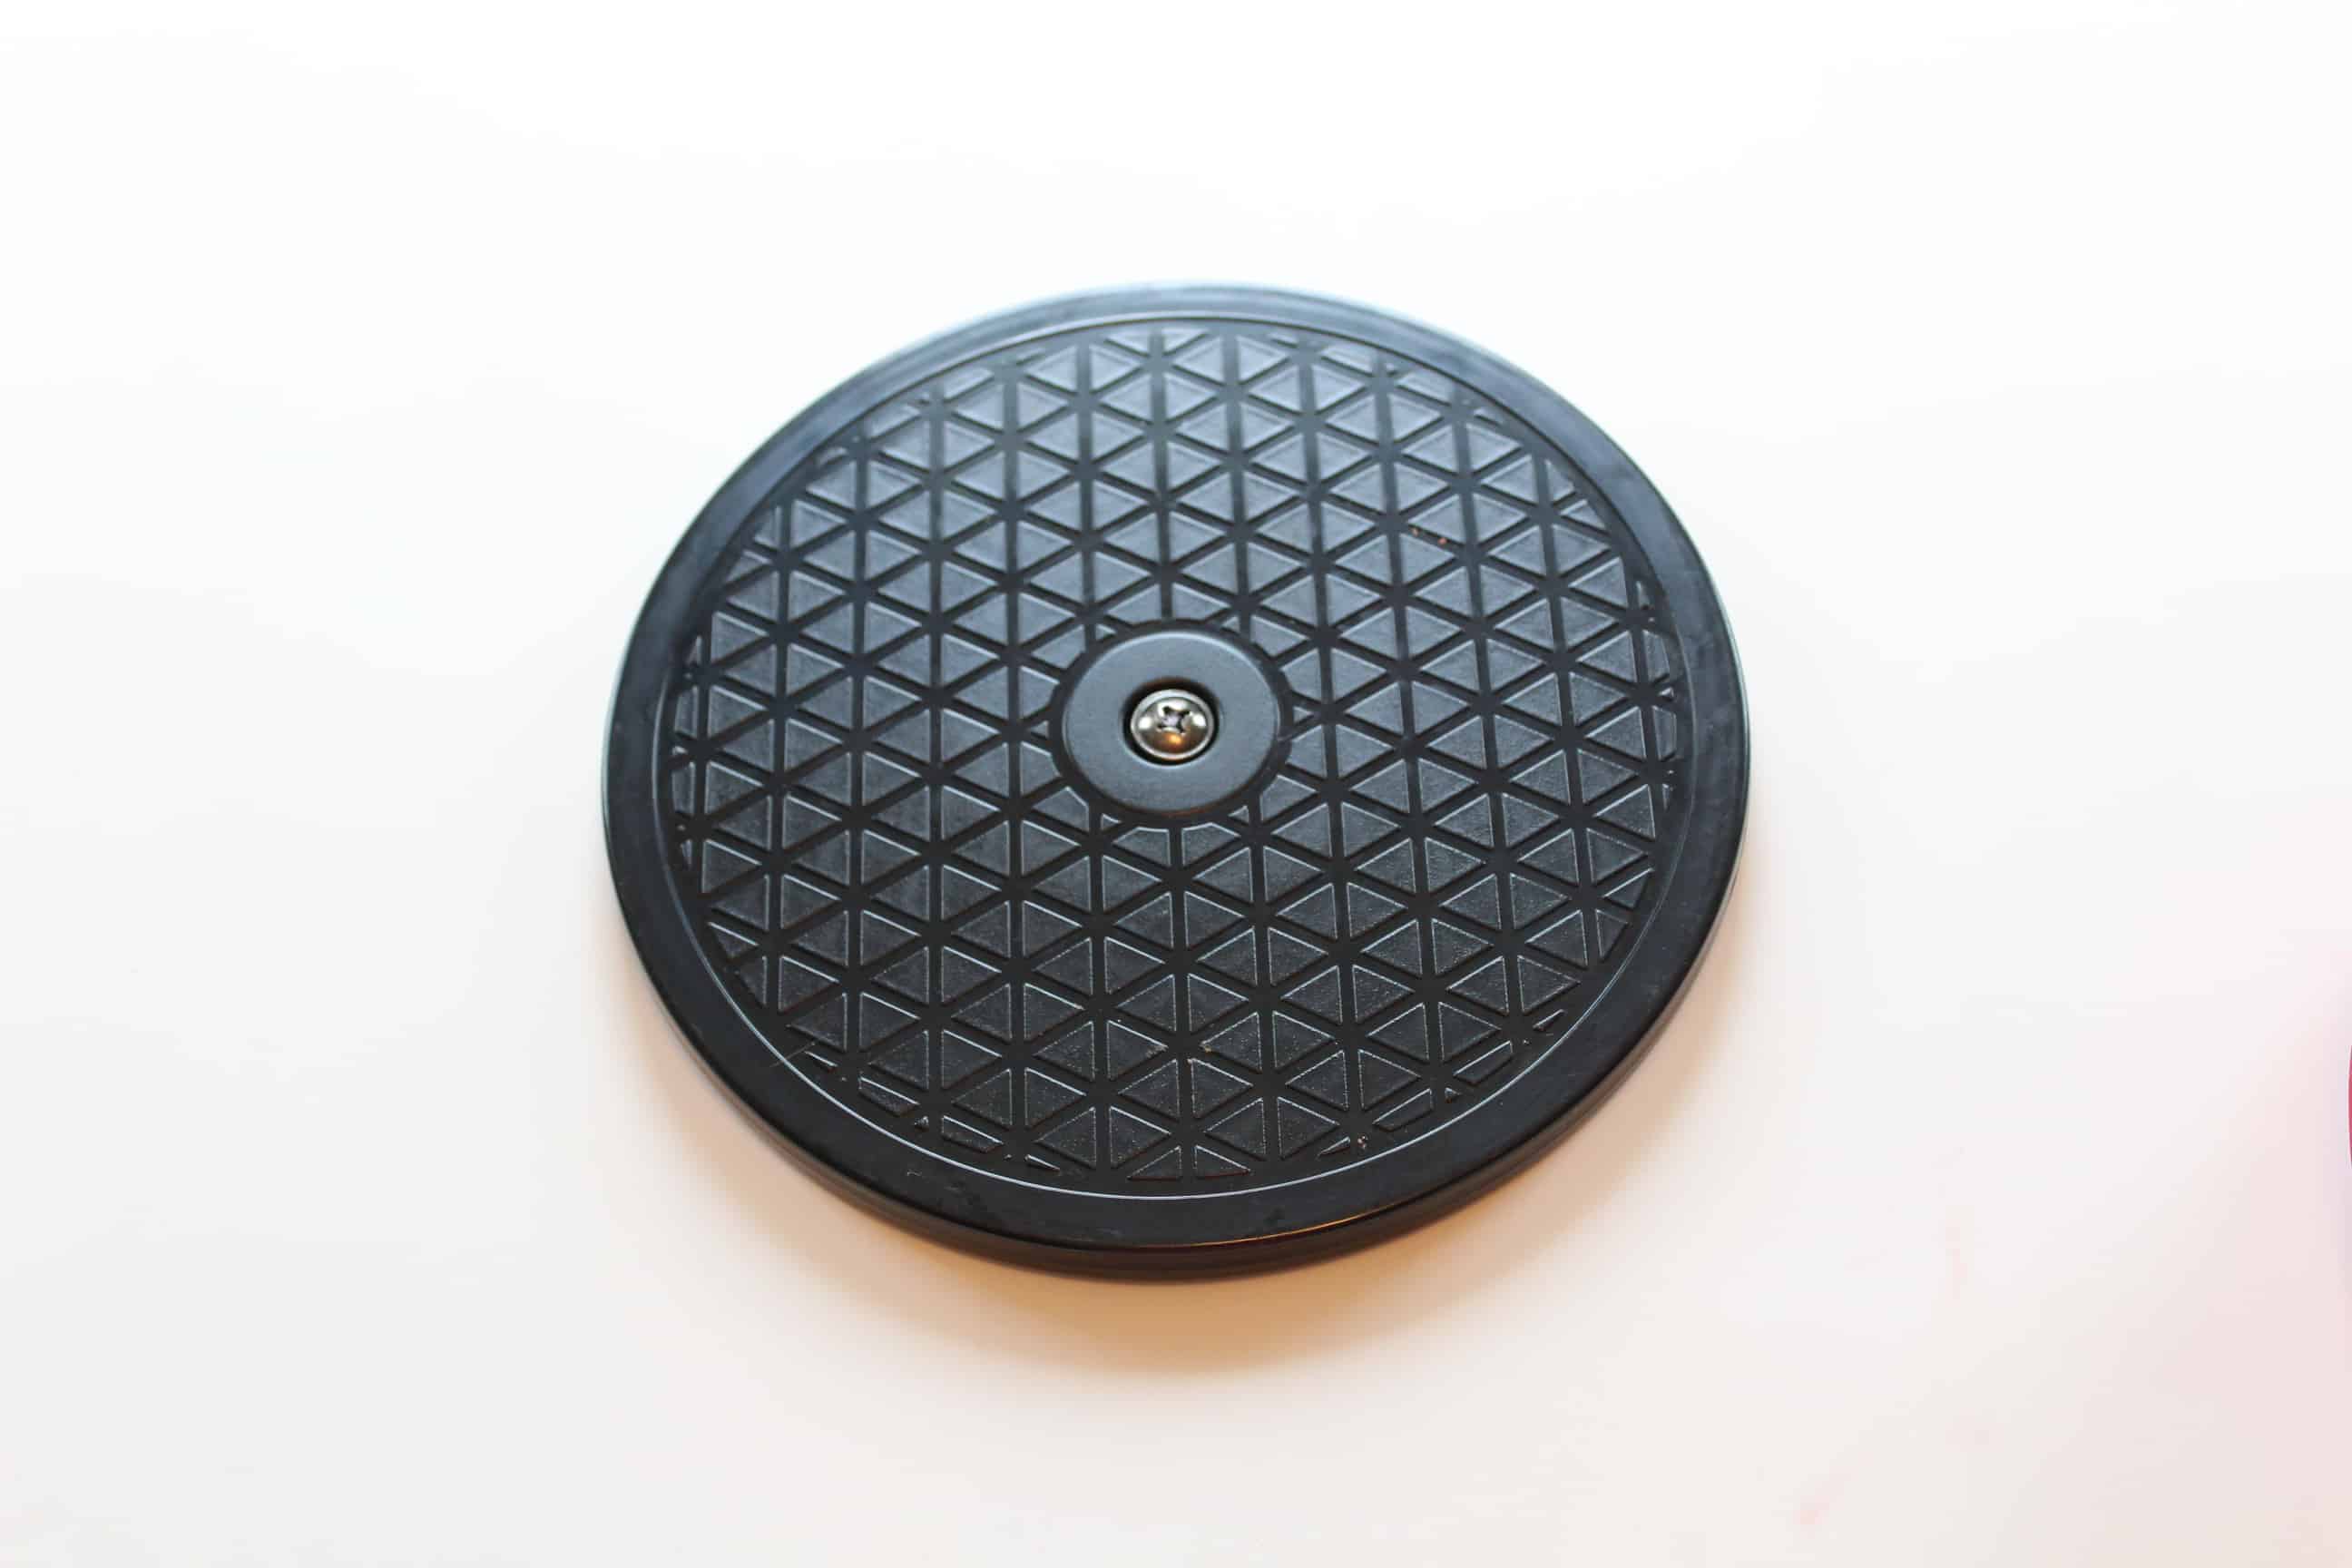
You'll want to make sure that the cake you make is that wide or more, so that the lazy susan won't stick too far out beyond the cake.
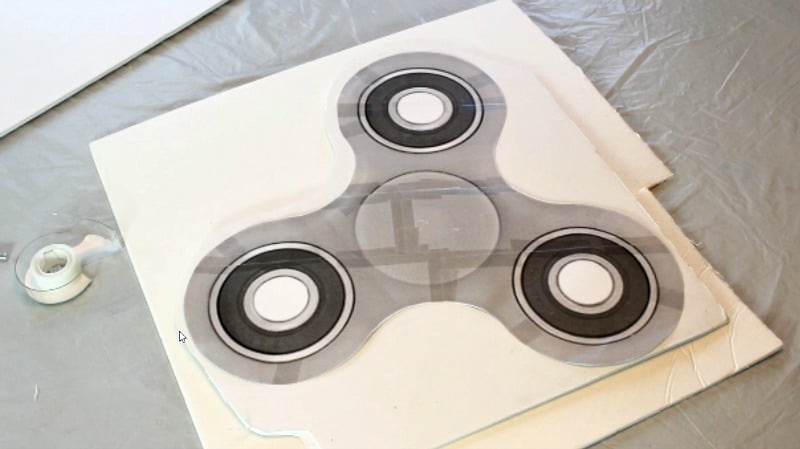
The fidget spinner template:
For this I just went online and found a clip art image. I found the picture, uploaded into PowerPoint, printed it and then pieced it together to get the size I needed. You could also just print a picture out and take it to an office supply store to have them blow it up.
Steps for making the fidget spinner cake:
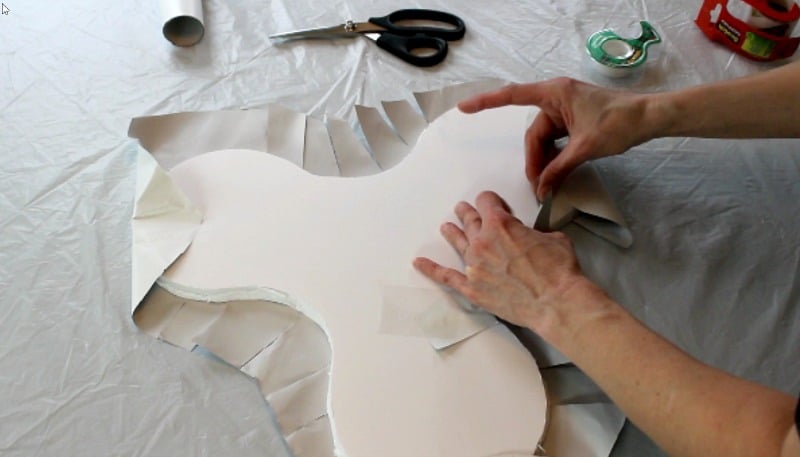
The first step is to take your printed template you made and cut out the shape into a ¼″ foam board. This will be what you use to cut around your cake. You'll want to cut this one a tad smaller than the one for the base board. (We're about to get to that.) Also, you may want to cover it with fanci foil or some wax paper to make it completely food safe.

Now take the template and cut out the shape into a ½″ foam board. This will be the base of the cake once you're done covering it with fondant.
Once that's cut out, you'll need to cover it with some fanci foil. I also ended up adding a red ribbon around the edge.
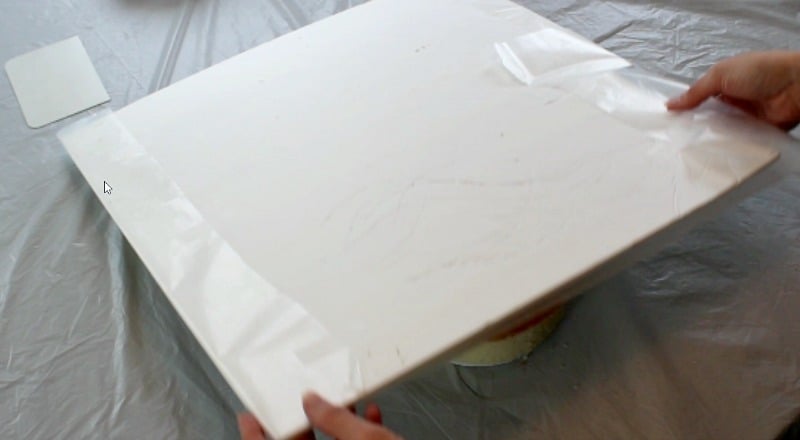
Now, take a large square piece of foam board and cover it with wax paper. This will just be your decorating board.
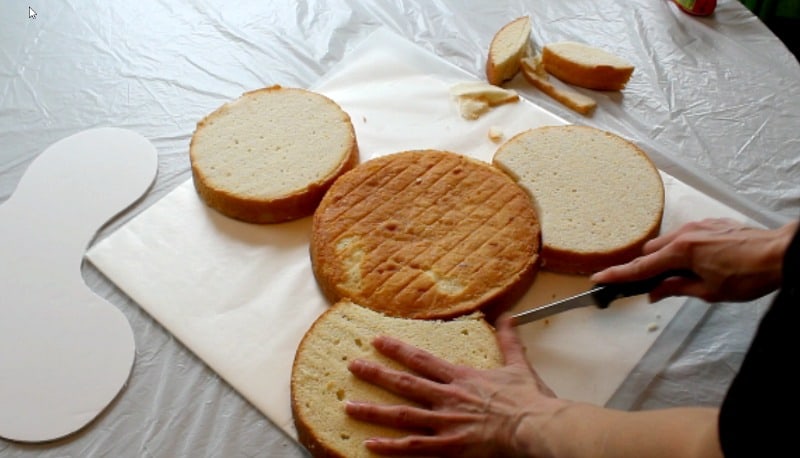
Set your cakes onto that larger square board. I used a 10″ round cake in the middle and 8″ cakes around it. Just trim a bit and keep setting your ¼″ foam board on top to adjust it.
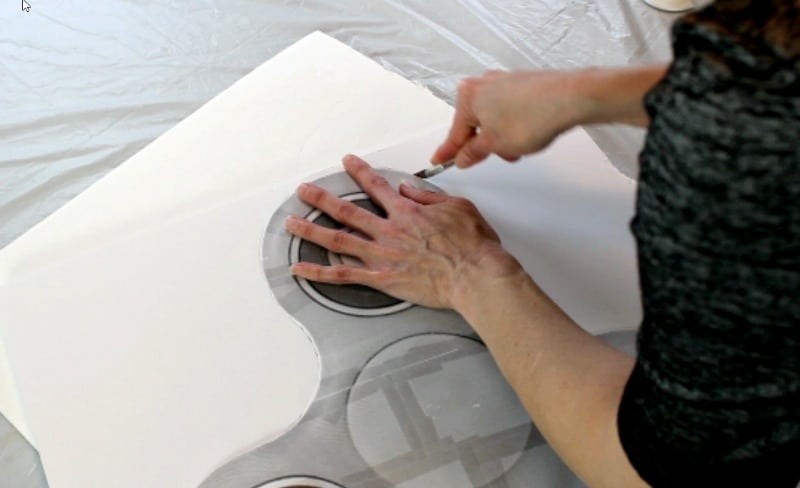
Once you get it adjusted, add buttercream to the ¼″ foam board template and place it onto the cakes.
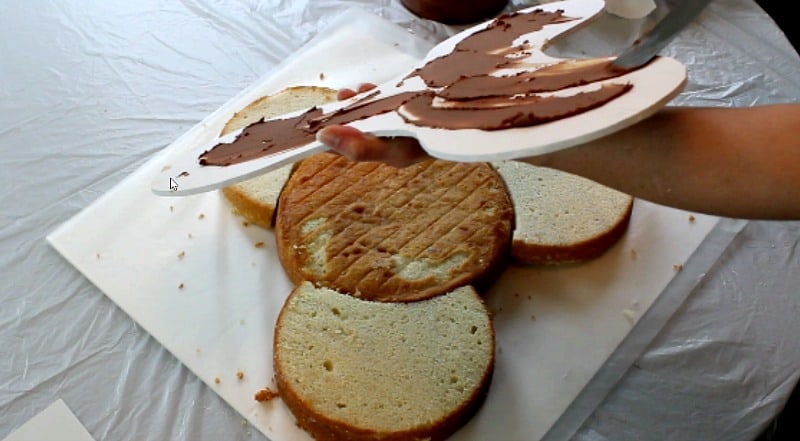
Next cut around the template, trimming off the cake.

Take the whole thing and turn it over, so the large board is one top, then pop that off. Now you've got a board on the bottom of the cake.
You can then set the cake back onto the large board, so you can easily decorate the cake.
Now just cover the whole cake in ganache or buttercream. Try not to eat too much while you're doing this part. (Ok, fine, I don't take my own advice.)
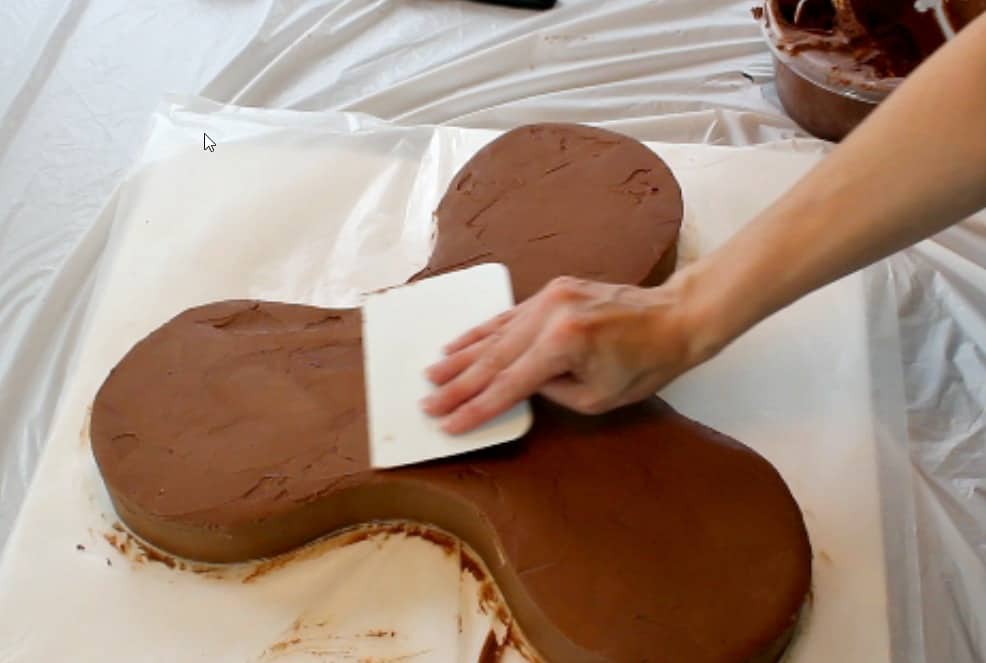
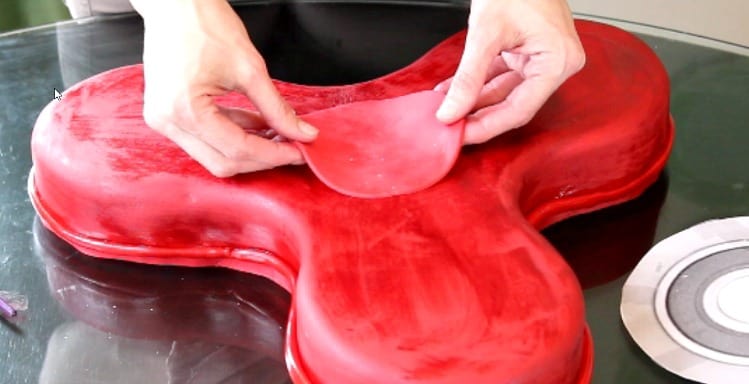
Make sure the buttercream or ganache is smooth, then roll out the red fondant.
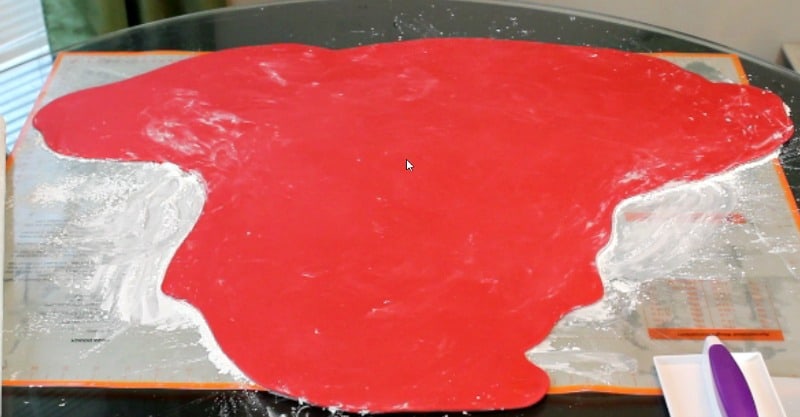
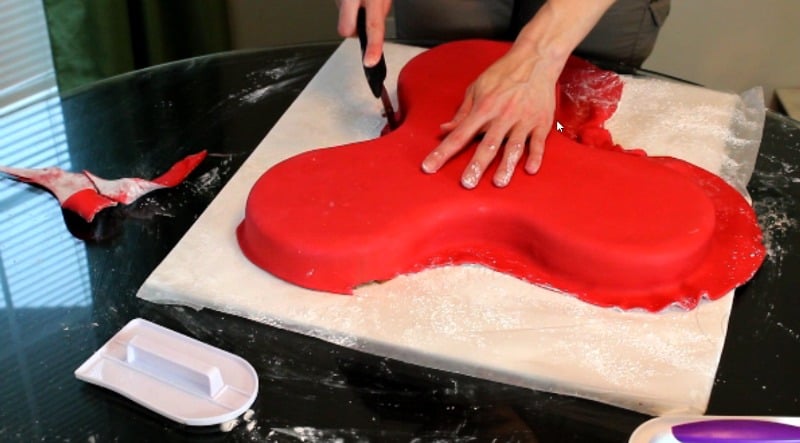
Either spritz a bit of water onto the cake, or use a wet paper towel to add a bit of moisture to it, so the fondant will stick. Now just drape it over.
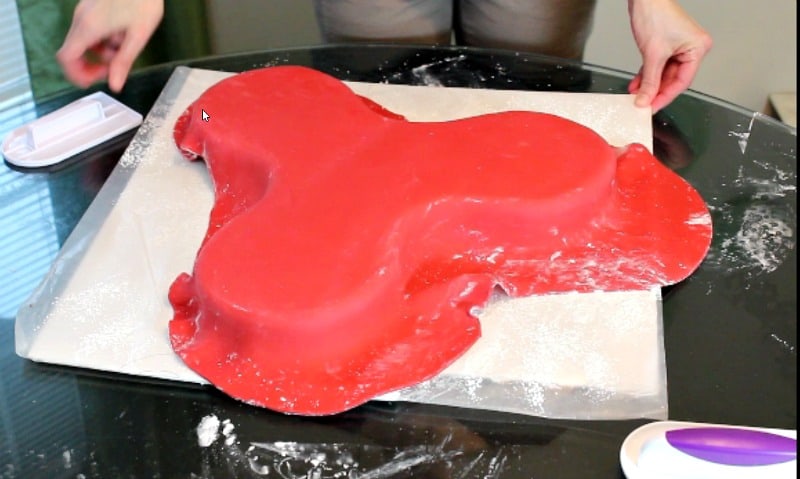
Use your fondant smoother to smooth the top and then your hands to smooth around the sides. Use your mini pizza cutter to cut around the edges.
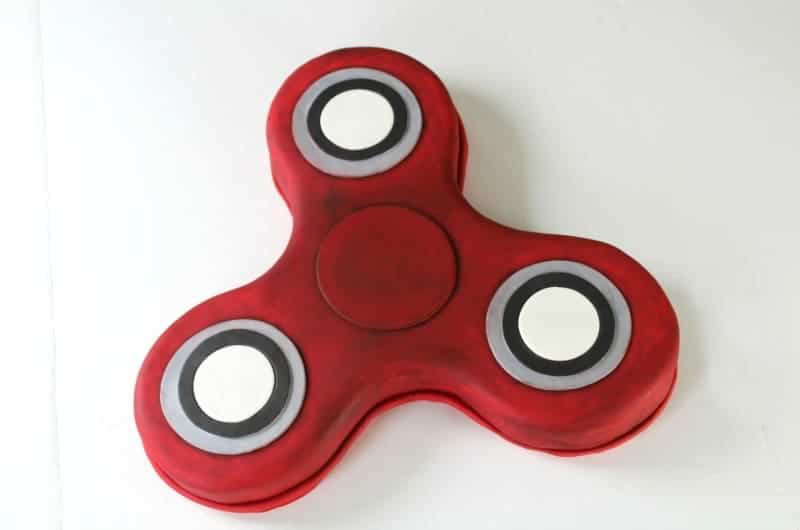
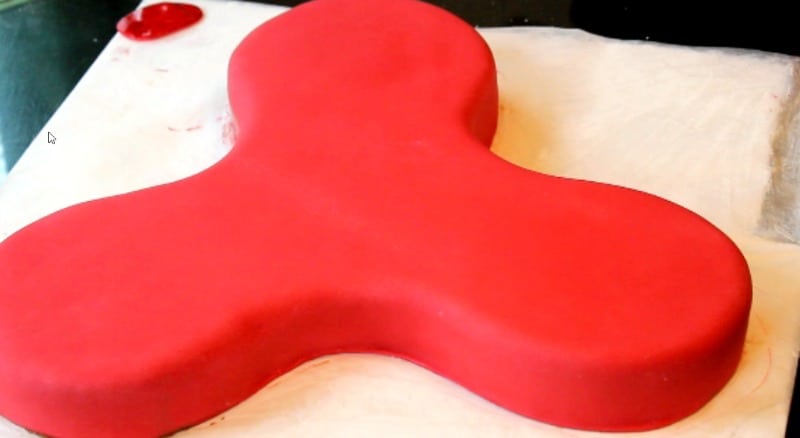
It should look like this now.
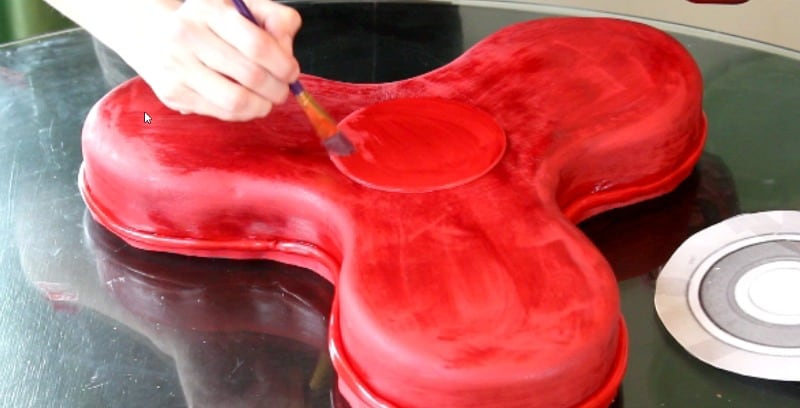
The next step is optional, but I mixed some extract and edible red luster dust and painted it onto the spinner, just to give it a little variation in color.
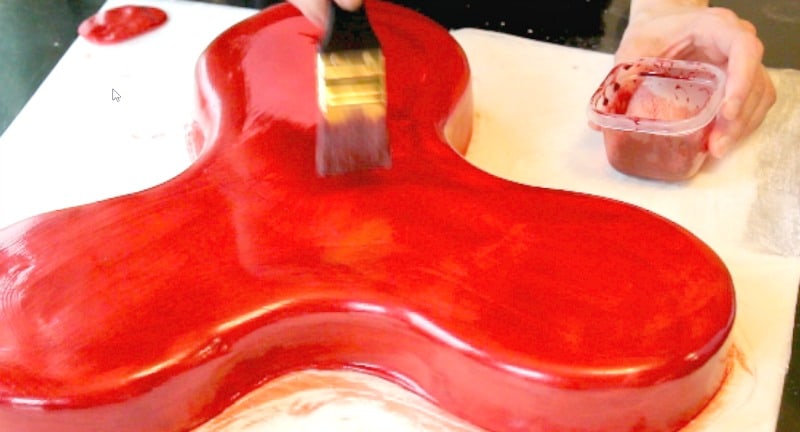
Now just set that aside to dry while you make the fondant circles for the ends of the spinner.
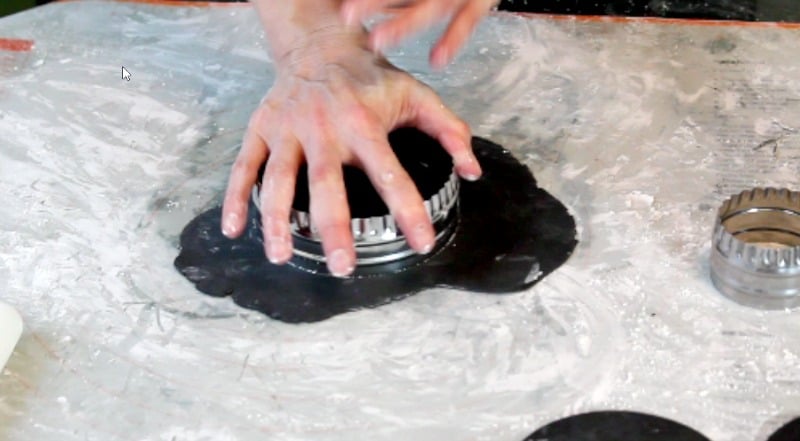
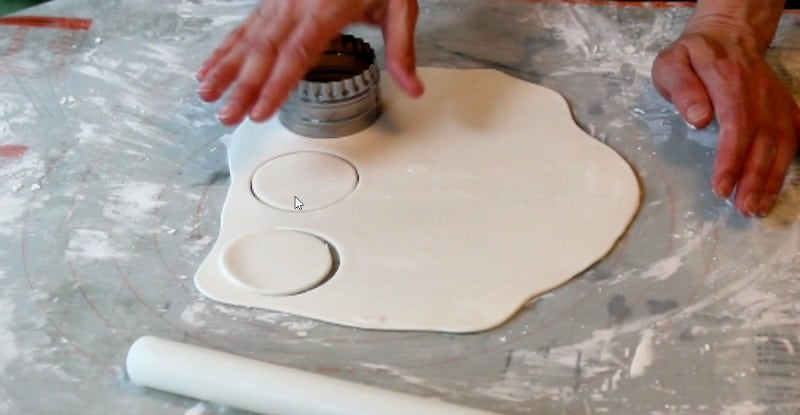
Take some black fondant and roll out. Cut three large circles.
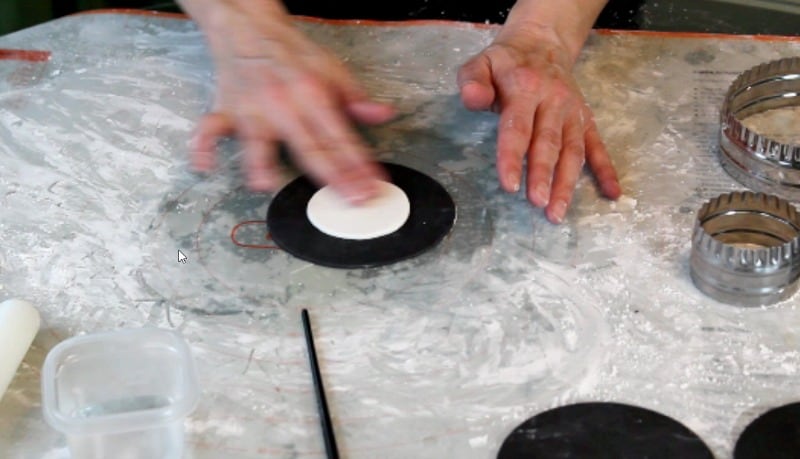
Now roll out some white fondant and cut out some smaller circles. Attach to the middle of the black circles.
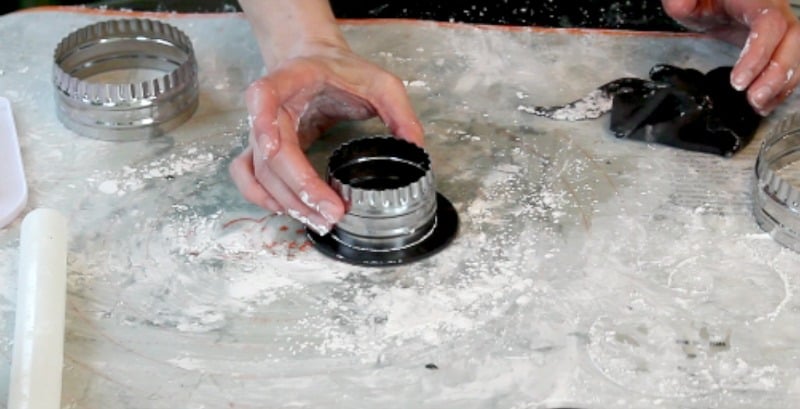
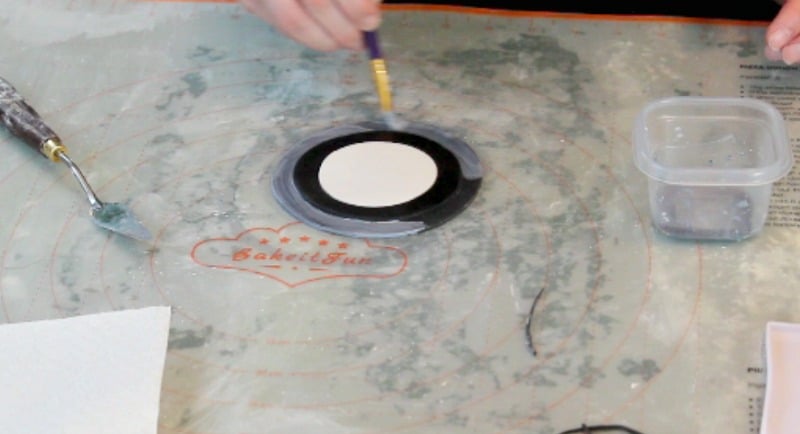
Now take your black fondant again and cut out a circle with the medium sized circle cutter. It needs to be smaller than the bottom black circle.
Now just cut the middle out of that black circle. Use the same size cutter you used for the white inner circle.
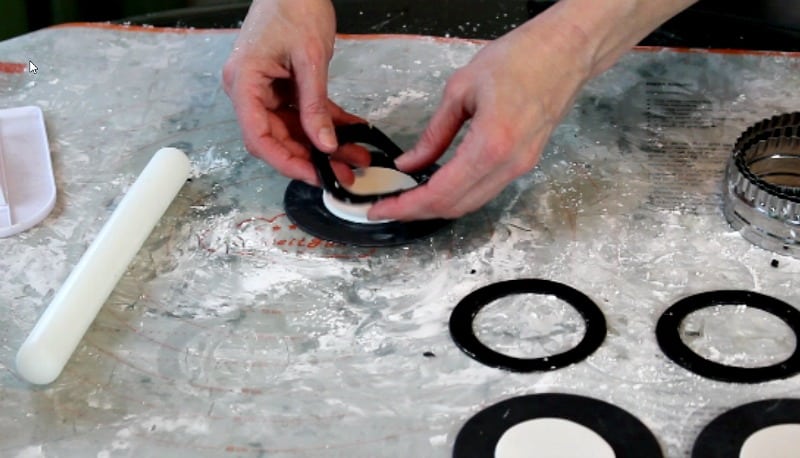
Attach this ring around the white circle.
Now just take your silver luster dust, mix it with extract and paint around the outer part of the circle.
Ok, we're getting close now!
Take some melted candy melts and add to the ½″ cake base you cut out and covered earlier. This will allow the cake to stick well to the board.
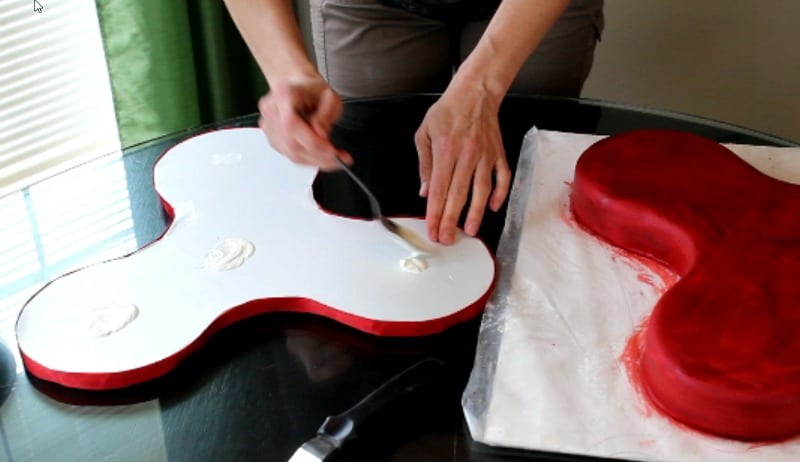
Just set your cake on that base board.
Now you need to cut out a large red circle for the middle of the spinner, attach it to the cake and paint it.
Oh, and you can add a border around the bottom of your cake if some of the cake base is showing.
Now, you're ready to attach the outer circles. Just add some water to the back and pop them on.

Yeah, my fondant is still a little wet from painting it at this point.
Almost done!
Next just grab your mini lazy susan.
Add a small circle of non-skid mat to the top.
Now just take your cake and set it on top. That's it! Now don't go crazy spinning it. It's pretty sturdy, but you don't want to hit it hard as you're spinning.
Just make sure to take the cake off the lazy susan before you cut it.
Now to the video:
I hope you've had fun with this tutorial. Make it in any color you like! Oh, and if you DO make it, I'd LOVE to see pictures!
PIN IT HERE! –>
Source: https://iscreamforbuttercream.com/fidget-spinner-cake/
Belum ada Komentar untuk "How to Make a Easy Fidgert Spinner Cake"
Posting Komentar